A new, wonderfully done nail trim offers you some assistance with looking clean and set up together. Be that as it may, proficient nail treatments can be costly and tedious. Why go to the salon when you can give yourself an immaculate nail treatment at home?
How to do a Perfect Manicure at Home- Step by Step Tutorial
You can do your nail treatment at home without paying heavy costs in saloons. It’s easy to give the smooth and clean look to your hands as it’s critical to stay clean and pure because it affects your personality a lot. Here are some basic tips for you that can help you to manage your manicure at home.
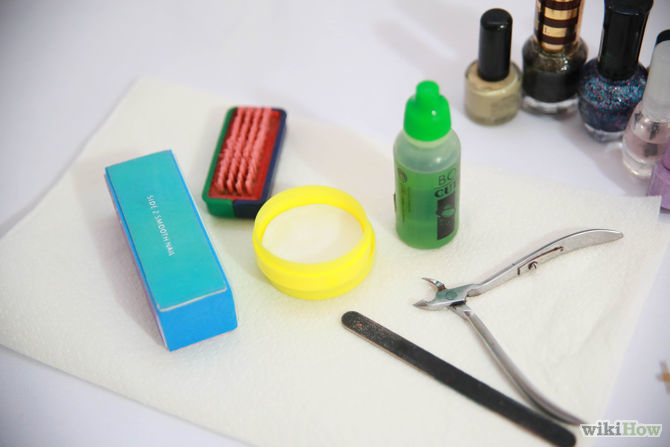
Step 1: Gather the essentials:
Make certain to have the accompanying instruments and items prepared to go:
• Nail-shine remover and cotton swabs or cushions.
• Nail scissors, if your nails require a trim before you clean.
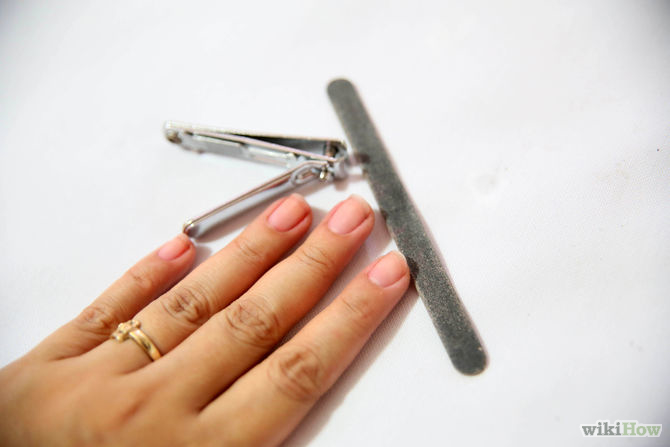
• Emery board and nail cushion.
• Fingernail skin pusher and nippers.
• Unfeeling/fingernail skin remover.
• Hand/Nail lotion.
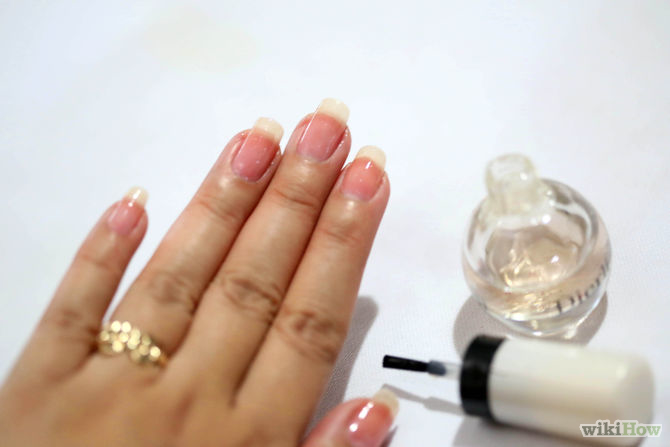
• Base coat. (of yours choice)
• Nail shine.
• Clear topcoat./ Nail polish
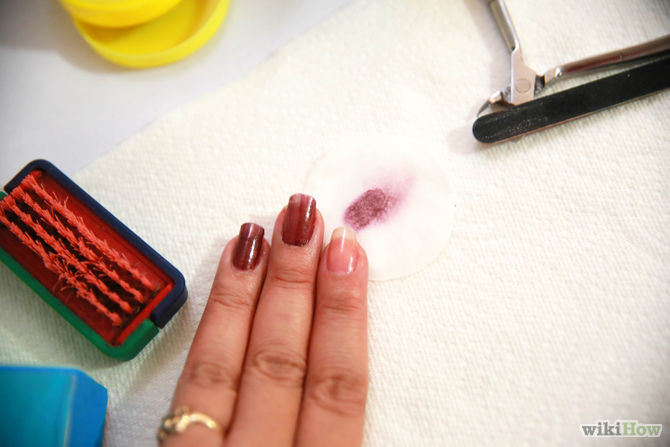
Step 2: Remove any previously applied
An acetone-based nail shine remover is crueler than non-acetone removers. However, the acetone removers take care of business quicker, and regardless of what sort of shine remover you utilize, it will have a drying impact on the nail territory and fingernail skin as it’s necessary to clear your nails so that you can get your manicure easily. It is urgent that you minimize contact with any nail shine remover for the prosperity of your nails and fingernail skin so let’s start!
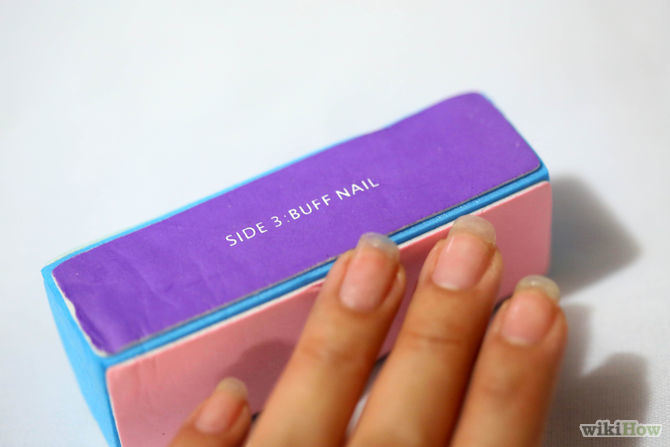
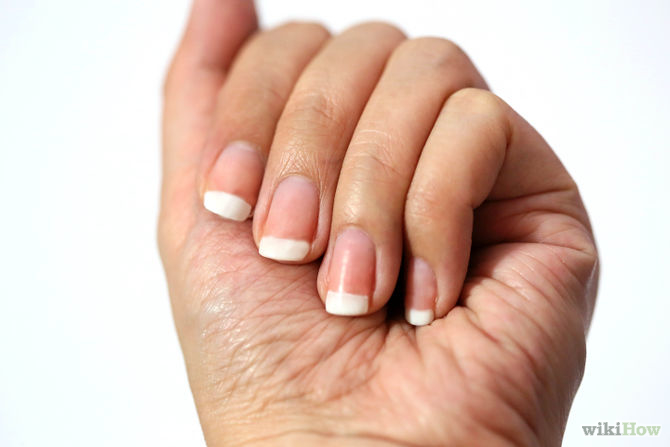
Step 3: Shape nails:
Cut the nails, if essential, in the wake of soaking for only a few moments to keep the nail from fragmenting when it is dry, then tenderly record them into shape. A somewhat adjusted nail shape or square-adjusted edge is, by and large, the most ideal approach to go.
Stay away from metal or to a significant degree course nail records to anticipate fragmenting—decide on a delicately rough emery board or precious stone nail document. Smooth the finish and sides of the nails with a somewhat grating support to guarantee an even surface, however, keep in mind, if you buff the nails excessively smooth, the shine won’t also follow and can slip right off.
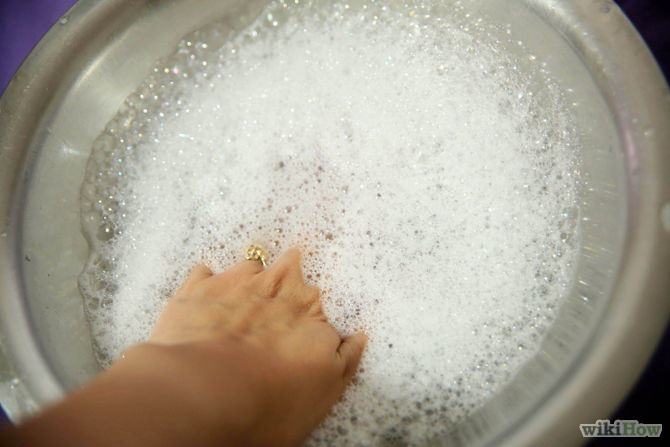
Step 4: Soak away.
What a relaxing part? I love it. Place your hands in a dish of lukewarm (not very hot) water and include a touch of your delicate face chemical to the water. Abstain from putting cleanser or sudsy chemicals like shampoos in the water because they can be drying and aggravate your fingernail skin look. Splashing the fingernail skin before trimming is pivotal, however, over-drenching harms skin and nails, so keep it to three minutes or less than take out your hands from water.
Step 5: Apply callous/cuticle remover
While removing the thickened skin around the nail, using a touch of fingernail skin remover can have all the effect on the planet. By a wide margin, the best and the slightest costly one out there is Be Natural Cuticle Eliminator. In spite of the name, its capable stuff, so don’t give it a chance to sit on the fingernail skin region for more than a few moments and stay cool.
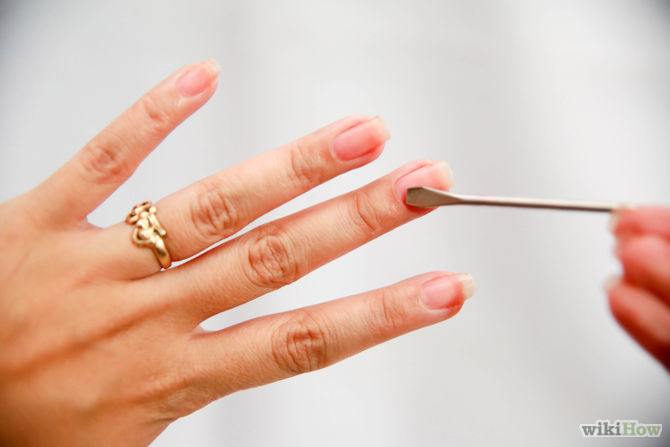
Step 6: Remove excess cuticle and calluses around the nail.
Gently push the fingernail skin move in an opposite direction from the nail with a fingernail skin driving apparatus, however, don’t push it too far in light of the fact that it can harm nail development or conflict the fingernail skin. Be mindful so as NOT to draw, lift, tear, tear, compel, or cut into the fingernail skin in any capacity. Try not to cut into the fingernail skin; only nip off the free edge with a couple of metal fingernail skin nippers, carefully. It’s ideal to under-do this progression than to try too hard in light of the fact that the fingernail skin shields the nail bed from microorganisms and harm. This is likewise an ideal opportunity to evacuate hangnails around the sides of the nail too, however once more, be mindful so as not to cut into the nail itself or to cut into the skin too profoundly; else, you will seem as though you were tuning up your auto, not giving yourself a nail treatment, so it’s a great way.
Step 7: Moisturize.
Rub a rich cream or velvety oil into the fingernail skin and everywhere throughout the hands to hydrate and renew skin. It helps to make your hands more soft and gentle, so you love your hands. Are you?
Step 8: Prep for polish.
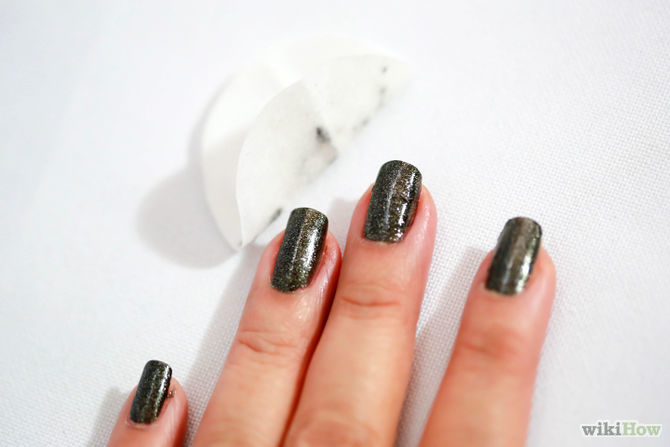
Prep for shine like the sunshine. Saturating elements of any sort left on the nail will keep shine from following legitimately. Utilizing a cotton swab or cushion, apply nail shine remover over the nail’s surface to evacuate any buildup. While it abstains from getting remover on the fingernail skin in light of the fact that you need to keep that region saturated, don’t stress on the off chance that you do because you’re going to apply cream on your nails again once the shine is dry.
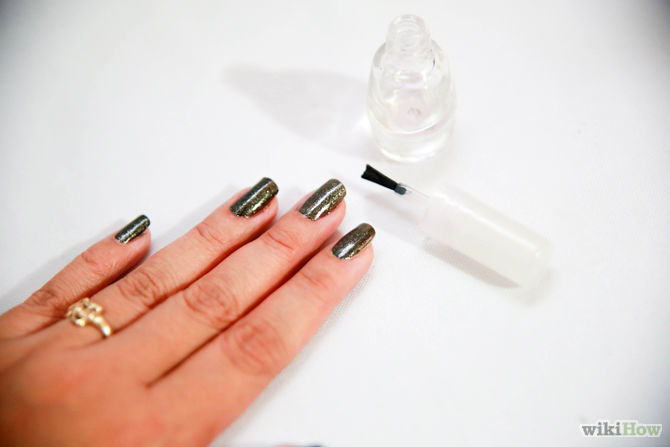
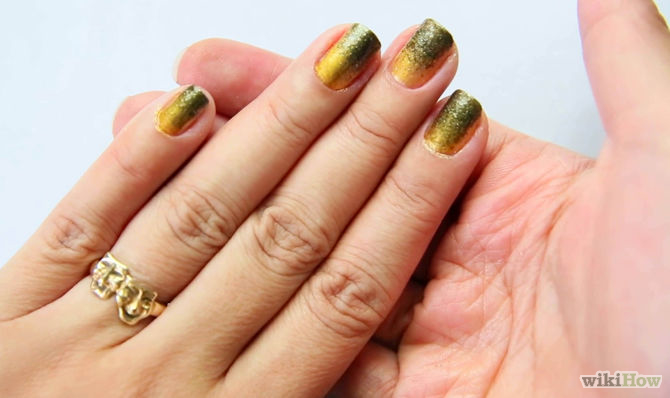
Step 9: Paint nails in layers.
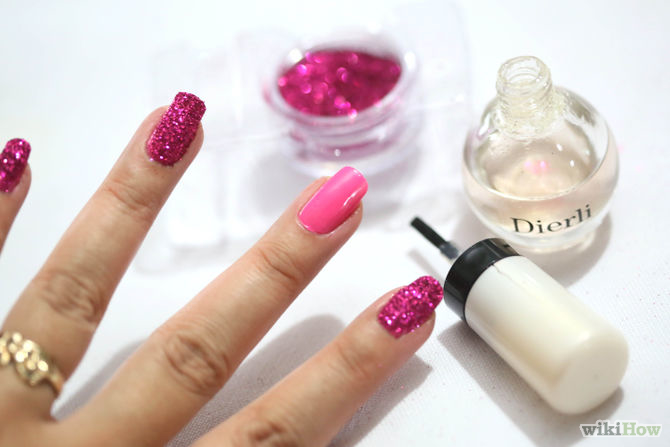
Paint nails in layers. On the off chance that you have frail or fragile nails, utilize a base layer of edge topping nail shine to shore off the nail. A base coat additionally shields nails from re-coloring and forestalls chipping. Next, apply your shading shine in layers as it’s your choice that how many coats you want to use, do you like darker shade or light. Two coats of shading shine, trailed by a top coat to include sparkle and gloss ought to do the trap. Utilize a lighter shade of shine in case you’re a tenderfoot at painting nails; any oversights will be less perceptible! Nowadays, Red, maroon, and dark pink are trendiest so you can apply these.
Step 10: Reapply moisturizer & during the day reapply sunscreen!
Reapply lotion and amid the day reapply sunscreen! Keeping your hands and the nail region sound requires cream and sunscreen. You can’t have good nails and hands without these two crucial things so do it to make your hand prettiest.
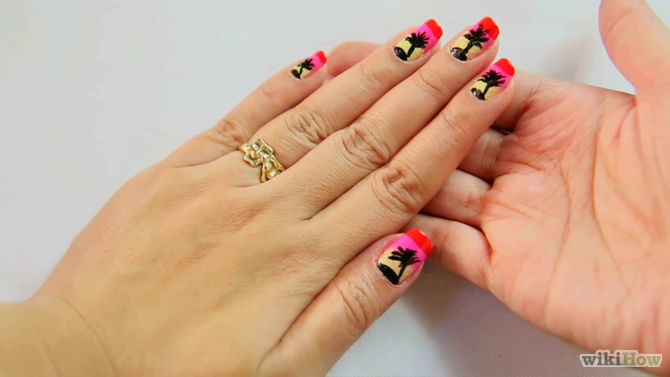
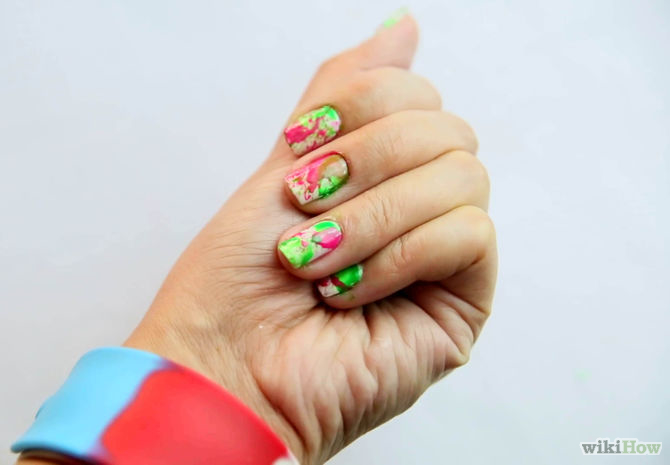
In the same way you can make nails with different colors and paints!


No Comment