Beautiful Metallic Chrome Nail Art Designs & Tutorial
Nail art is all about hues in fancy and shining out the best of your outlook through simple creative designs. It is not mere fashion anymore, it has now become the routine for most of the girls and is skilled in many ways. Let’s say if you are not a pro at giving yourself that nail treat then there are many effective nail art tools available to use, which give you every desired nail art pattern in just a few minutes. Moreover, now you can take all the help you can get from all the tutorials that show how to adorn your pretty nails with the variety of styles and colors. Today we will share the Beautiful Metallic Chrome Nail Art Designs & Tutorial Step by Step.
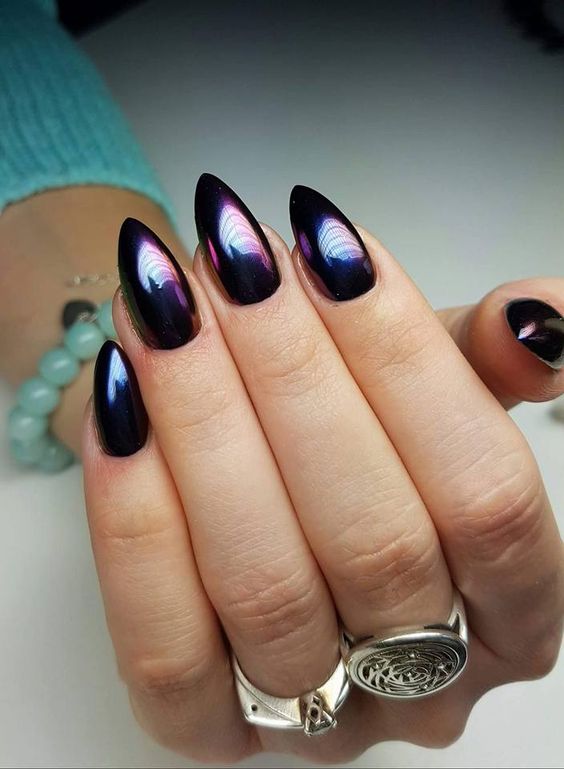
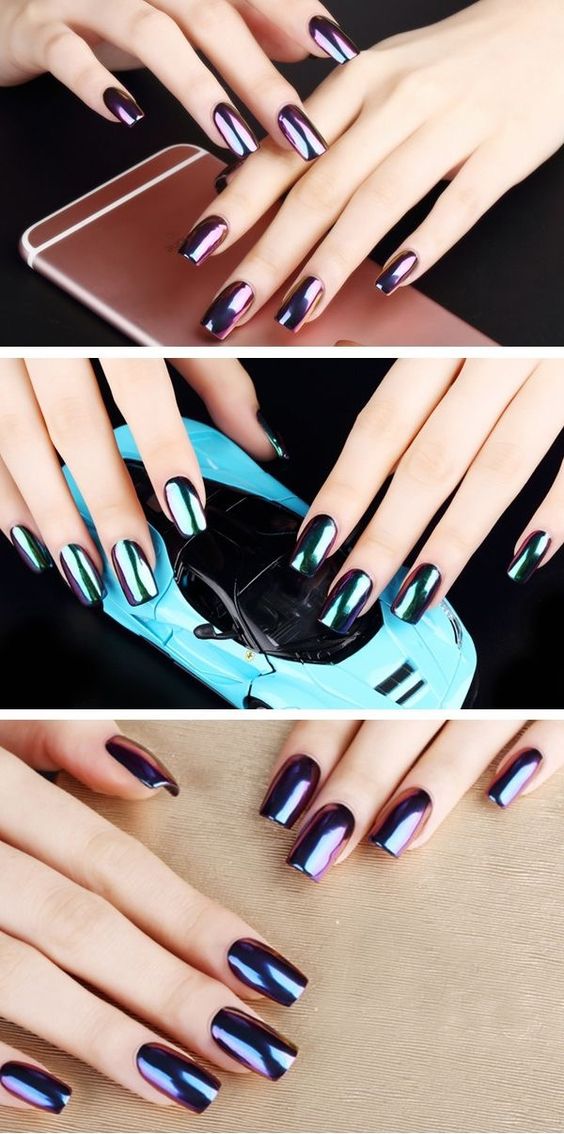
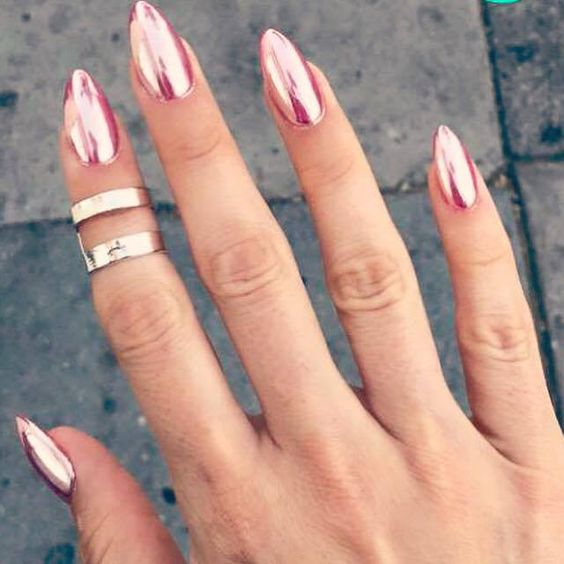
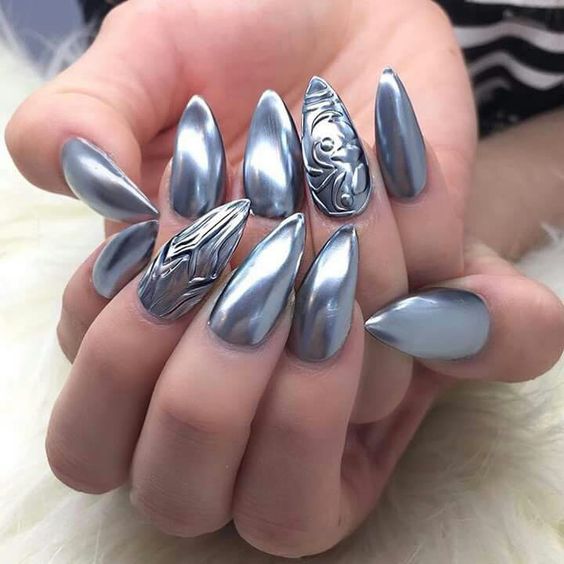
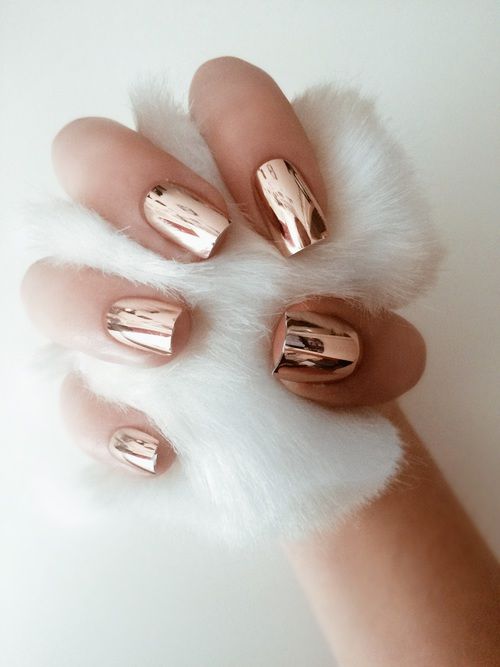
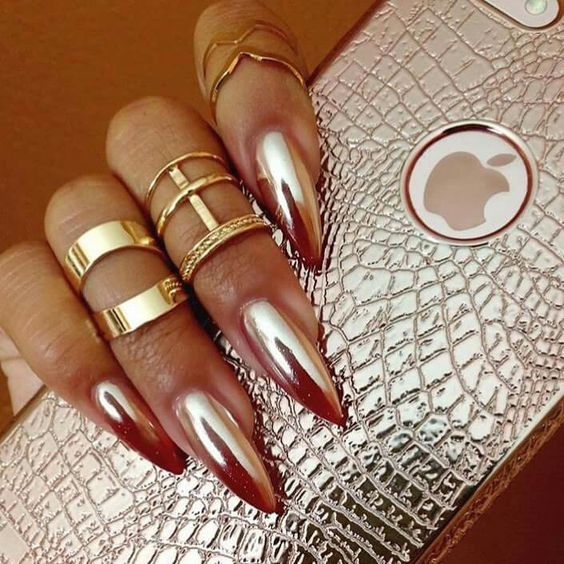
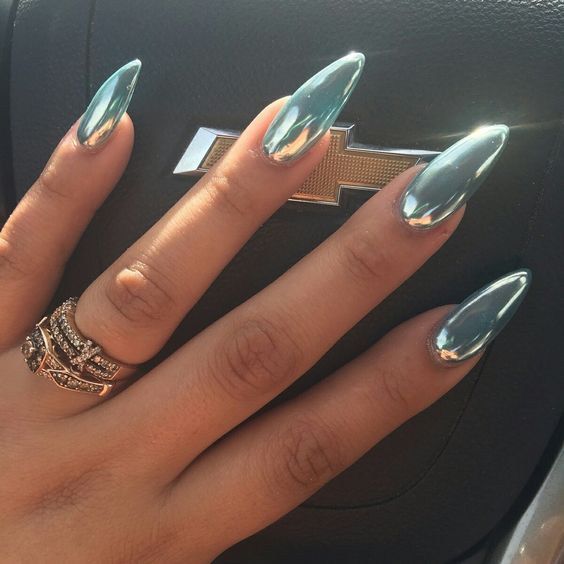
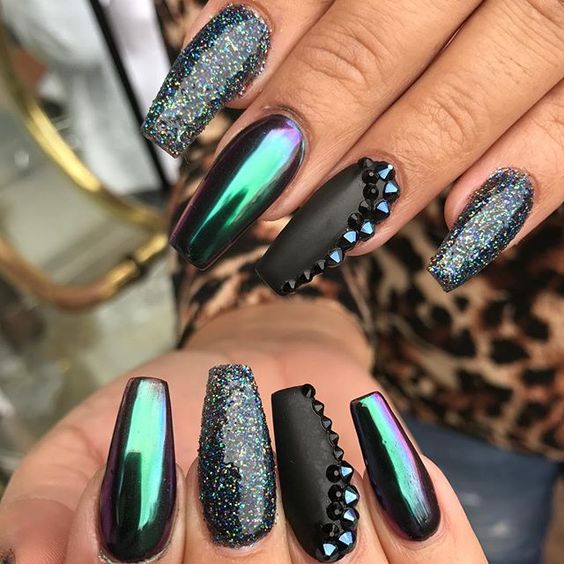
In articles published earlier, many categories of nail art have been discussed. Now is the time to throw some light upon the emerging trend of Chrome nail art. In just a couple of months, it has gained much popularity for its sheer elegance and the sophistication it provides to the nails.
Chrome art is perfect to carry with your entire range of wardrobe. It simply highlights the curves and shape of your nails and gives them a nice finish. Till this point, you all will definitely be wondering, How to get yourself such a fascinating range of nail art? What set of enamels to use? And if you are thinking that all this needs a visit to a beauty salon then you probably are wrong! With few simple steps described below, you can get it done at home in no time.
Beautiful Metallic Chrome Nail Art Designs & Tutorial Step by Step
It simply highlights the curves and shape of your nails and gives them a nice finish. Till this point, you all will definitely be wondering, How to get yourself such a fascinating range of nail art? What set of enamels to use? And if you are thinking that all this needs a visit to a beauty salon then you probably are wrong! With few simple steps described below, you can get it done at home in no time.
1. Prepare the nails:
The very first step of chrome nail art before you even get started is to prepare your hands and nail for this creative adventure. File your nails to get that perfect squarish or pointed shape that would suit the desired chrome art or your choice. Then remove the excess cuticle around the nails. It is hence preferable to have manicure if you haven’t done it in a while so that when you apply the nail paint your rough nails and cuticle won’t hinder the neat outlook.
2. Select the base color:
After preparing your nails, it’s time to decide the basic theme and color of your chrome art. Black is preferable as it gives the solid dark background for the chrome design to settle. Any darker shades of color can also be used which is completely up to you. One thing that must be kept it minds that a neutral shade must be used to avoid the messing of an overall color scheme of your chrome art.
3. Use of Gel Polish:
The 3rd step of chrome nail art tutorial includes the use of gel polish. Make sure the selected color must be available in Gel polish/ nail paint, now take that gel polish and start applying over the nails. The use of gel form of polish allows to later apply the powder without ruining the surface of enamel. Once you have applied the gel polish, let it settle for a while and only then you can move onto the next step.
4. Mirror Powder:
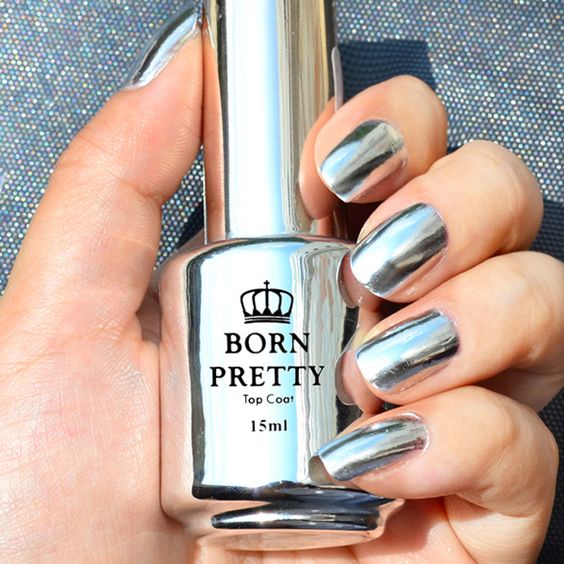
The most crucial part of chrome nail art is the mirror powder we use for it. A mirror powder is basically nothing but fine sparkly grains of glitters, available in a powder form. Either use golden, beige, silver, purple or any other shiny color of your choice.
5. Thorough Sprinkle:
Now the time comes where you need to apply the mirror powder over the gel polish on your nails. Use a makeup applicator to thoroughly apply the powder over every inch of your nails. Don’t worry if the powder is messed around the edges of nails, it will get removed later. Just focus on covering the nails completely.
6. Neat Finish:
For a neat finish, softly press the powder into the gel and remove the excess powder from the top of the surface. You’ll see that powder has now mixed into the gel and gives a shiny metallic outlook. Well, there it is, all new chrome nail art, ready for you.
7. Final Touches:
For final touches, remove the excess of the powder from edges of nails and from the skin of the fingers. It’s not that easy to remove as mirror powder is far different from ordinary glitter you use. So use a layer of a peel-off solution and it will work out great.
Using these basic steps you can create any type of chrome art you want to. Use sharpies if you want to add patterns and designs over the plain gel polish and after designing it up later use the mirror powder over it.
See More As:
- How to Make french nails at home- DIY tutorial
- Holiday Season Best Christmas nail art tutorials with pics
- Top 10 Best & Popular Nail Colors for Winter Season
- Romantic & Red Valentine’s Day Nail Art Designs & Ideas
- How to Make Rhinestone Nail Art Step by Step Tutorial
- How to Choose Lipstick Color according to Skin Tone







No Comment