Good morning everyone. Like every week, I tell you most amazing tips on makeup and beauty that enhance you and make you feel pretty. Today I’m going to tell you some super secrets for your feet beauty. You can enhance yourself at home. You can have the good and perfect pedicure at home without paying high money in parlors and saloons.
As it is very important to take care of yourself especially hands and feet, they show your personality that tells how much you are pure and clean.
How to do a Best & Perfect Pedicure at Home by Yourself- Tutorial
Dirty hands and feet look ugly. Whether you have to relax up your callused feet, or you are searching for a day of spoiling, giving yourself a pedicure is the ideal arrangement for relaxing yourself. With a touch of time and a little exertion, you’ll have sleek feet and consummately cleaned tootsies that will leave everybody desirous, so it’s easy to do the pedicure at home. So here are all steps:
Image Credits: WikiHow
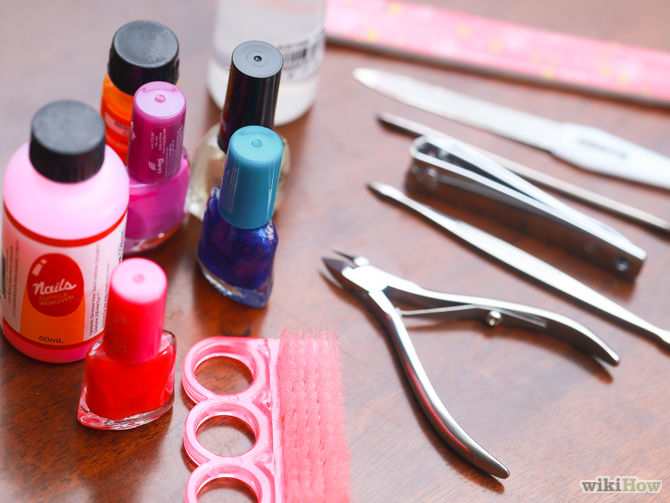
Step 1: Pick up your supplies, are you ready?
For a decent quality pedicure, you’ll require some essential toe-altering supplies to set your nails. Get these things for pedicure:
• tub and water for splashing
• nail scissors
• nail record
• a fingernail skin stick/orange stick
• a nail support,
• a pumice stone or cleaning brush
• an unmistakable top and base coat
• a shining shade of decision.
Discretionary extra supplies incorporate shower salts for drenching your feet, fingernail skin trimmers, fingernail skin oil, and moisturizer for a back rub a while later.
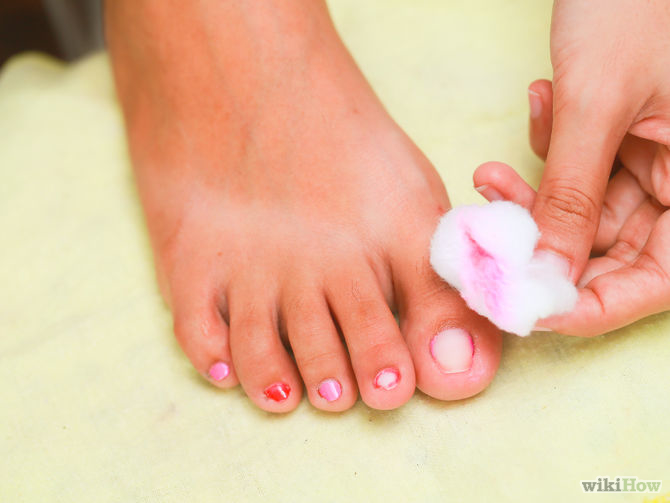
Step 2: Remove any pre-existing nail polish, must-do!
Despite the fact that it might appear glaringly evident, removing your old nail shine is a vital initial step to giving you a pedicure as it won’t otherwise t be a perfect pedicure. It’ll be difficult to include shading over the highest point of an old one as it will look ugly. Utilize a CH3)2CO remover, trying to get the bits of your fingernail skin also.
Step 3: Start your soak!
Fill a tub or bowl with boiling water, and if you’d like, a touch of shower salts or oils. Presently it’s a great opportunity to take a load off! Let your feet splash for 10 minutes; the high temp water will mellow intense calluses and evacuate the earth and grime that may have developed as this mixture will relax you so much. It will likewise mellow your nails and fingernail skin, which is basic when you’re preparing to paint your toes but it is very useful.
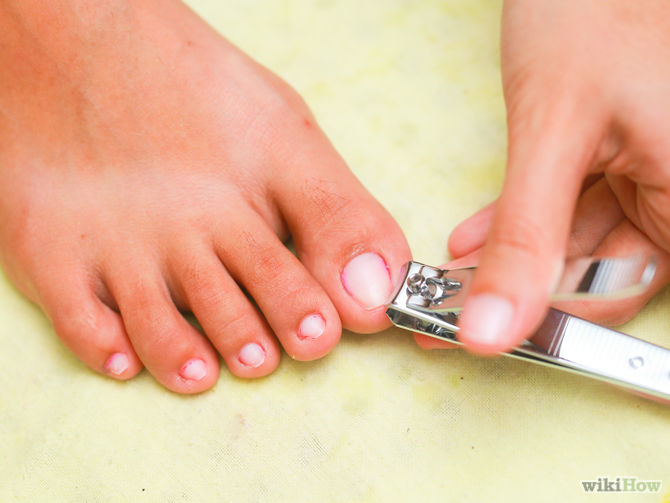
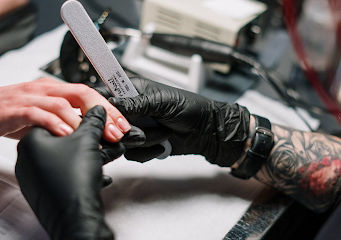
Step 4: Cut and file your nails carefully!
Begin by trimming your nails down to size; utilize a couple of nail scissors to slice your toenails to be sufficiently short to see a touch of white at the tips. The state of the nail ought to be marginally squared, after the characteristic top line of your toes. Utilize your nail scrape to buff down the sharp edges of the nail the scissors may have left, and to do any further forming you might want.
• Abstain from cutting your nails fit as a fiddle, as this can advance ingrown toenails.
• In case you’re capable, take a stab at recording your nails in the same heading to abstain from part the layers and harming your nails.
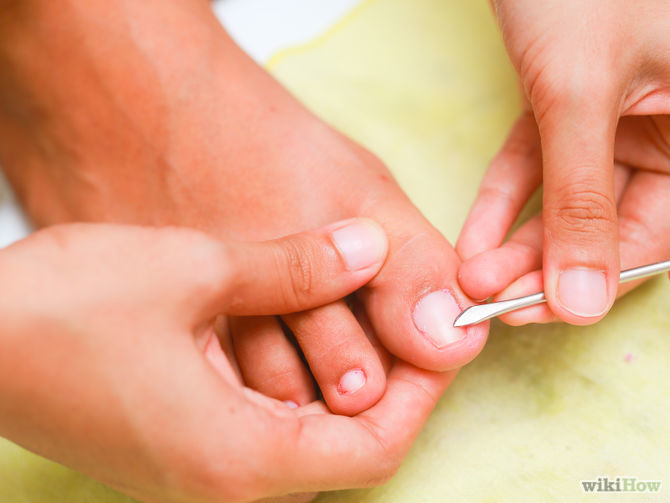
Step 5: Prepare your cuticles carefully!
Despite the fact that this stride is discretionary, it can go far in improving your toes arranged for painting to male them pretty. Utilize your orange stick/fingernail skin stick to push delicately back the fingernail skin around every nail. On the off chance that you have fingernail skin trimmers, carefully remove the abundance fingernail skin that develops after some time. Rub on a little fingernail skin oil when you’re done to supplement the delicate skin with a touch of included dampness, wow it’s great.
Step 6: Smooth out the tops of your nails!
Utilize your buffing cushion to grind down the edges and harsh edges on the highest points of your nails. Give careful consideration to the edges that you’ve recently trimmed or recorded, as this zone ordinarily should be slanted a bit to make a level plane, as it were. Utilize your buffing cushion in the same heading and tilt the edge of it to achieve the sum of every toenail.
Step 7: Clean up and soften your skin to get a baby feet!
Presently it’s a great opportunity to move your real feet. Utilize your pumice stone to clean the calluses on the heel and wad of your foot. You shouldn’t scour too generally in these regions because an excessive amount of aggravation causes the skin to react by thickening to ensure the sensitive tissue underneath, and that turns into a perpetual cycle so tender buffing at first glance with practically zero weight is best. When you’ve uprooted any dried skin or calluses, you can utilize a scouring brush to tidy up your whole foot. Utilize the brush between your toes and everywhere throughout the scaffold of your foot, including cleanser if you’d like a touch of an additional clean to make your feet more pretty.
• Make sure to wash off your feet with a touch of water in the wake of scouring.
• Abstain from utilizing a ‘cheddar grater’ sort apparatus on your calluses, as these have ended up being risky and can bring about parasitic contamination.
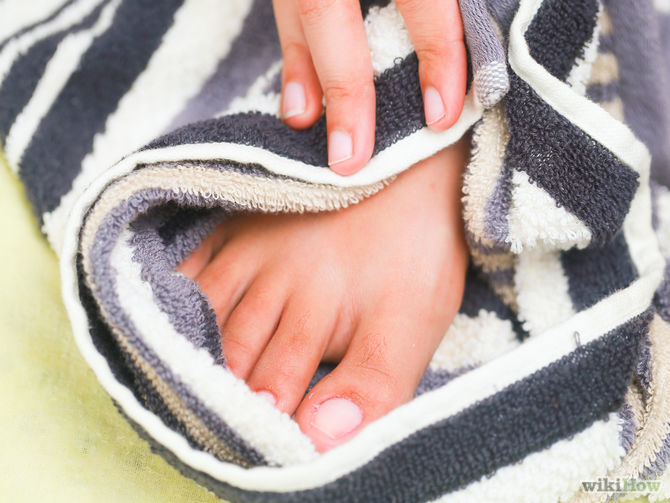
Step 8: Finish preparing for polish!
Expel your feet from the splashing tub totally and unfilled it out. Get your feet dry, and if you’d like, back rub on a layer of cream into your skin. On the off chance that you do this, utilization a touch of nail shine remover to tidy up your nails once more.
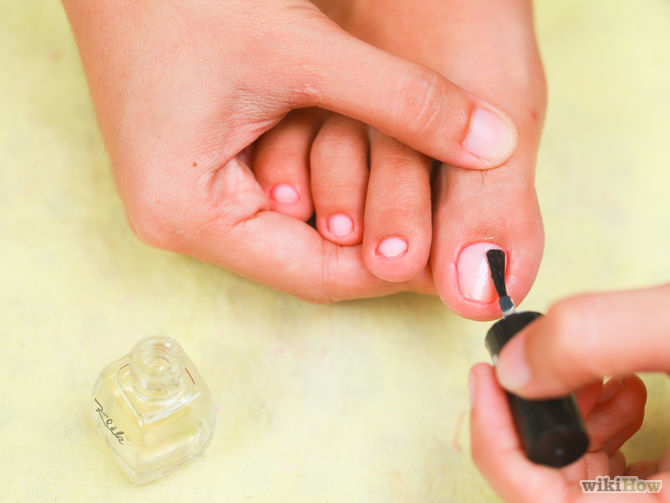
Step 9: Add your base coat clearly!
Here is the best part, time to apply the base color. Utilize an unmistakable nail shine as a defensive base coat on every one of your toenails. It will keep your nail shine from yellowing your toenails, and also give your enamel a strong base to stick to.
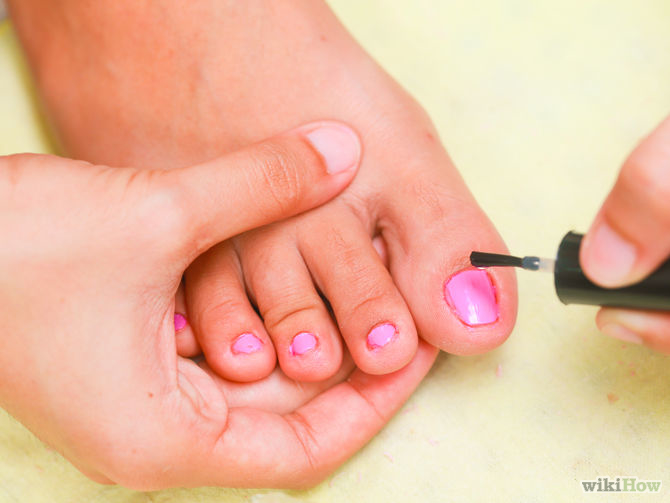
Step 10: Apply your color of choice so what do you want to use?
Select nail shine shading, and paint each of your toenails. Begin at the focal point of the nail close to the fingernail skin, and utilize long brushstrokes towards the tip of every nail to fill in the shading. Work from the middle outwards until every one of your nails is filled in, utilizing a fingernail or the edge of an orange stick to wipe off any shine that may have erroneously gotten on your skin. You might need to include two layers of shine with a specific end goal to get a murky layer of shading as to make it more clear color.
Step 11: Finish your nails and get a pretty look!
Sit tight a couple of minutes for your shine to start to dry, and include a reasonable top coat. It will set your shine set up, and help it to last more without chipping. At that point, secure your feet for 10-15 minutes while the shine totally dries. Test the shine with your finger to check whether it is still cheap; when it is smooth to the touch and doesn’t spread underweight, you’re done! Now let’s go to the party; you have nice feet dear lady.


No Comment